 Be Inspired Blog - Arizona
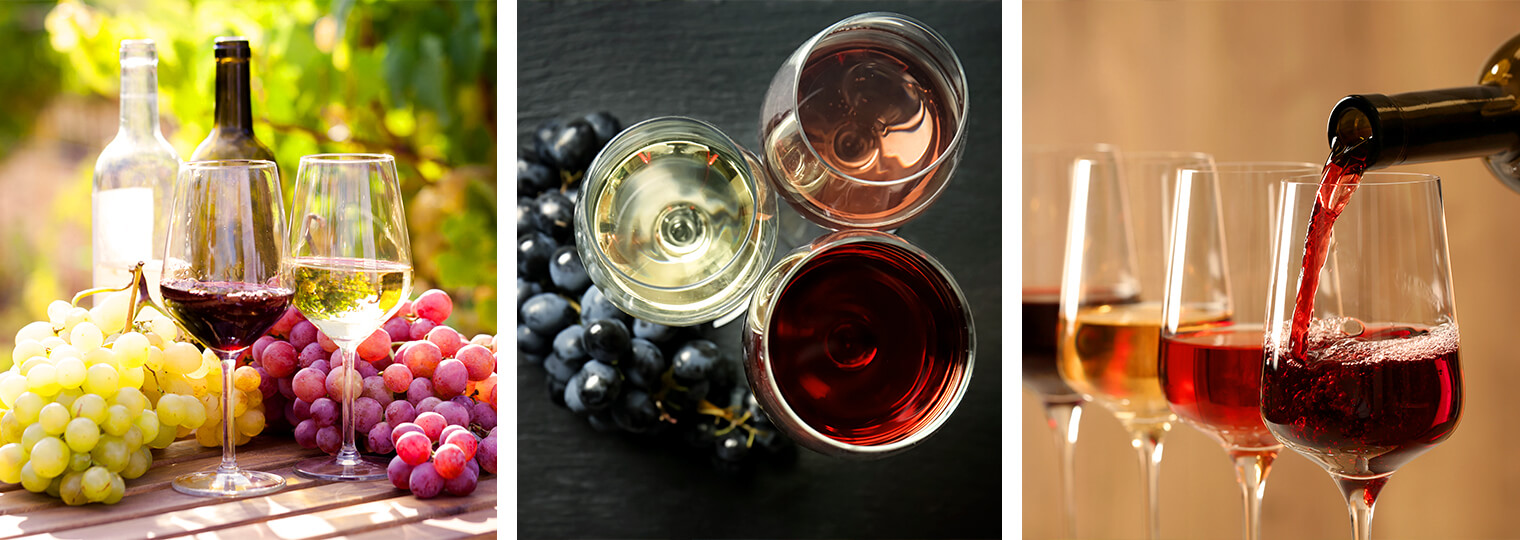
How to Make Wine from Homegrown Grapes
How to Make Wine from Homegrown Grapes in the Valley of the Sun
Wine holds a special place in culinary culture—celebrated for its depth, tradition, and artistry. Fortunately for gardeners in the Phoenix Metro area, our sunny, arid climate provides excellent conditions for growing grapes. If you’ve planted vines in your backyard, making your own wine can be a rewarding and surprisingly approachable project. Here's how to make homemade wine using grapes grown right here in the desert Southwest.
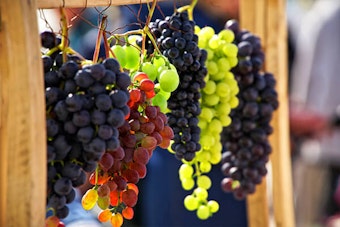 Best Grapes for Winemaking in Arizona
In the Valley’s hot, dry climate, grapes thrive with the right care and variety. The most successful winemaking grapes come from two species: Vitis vinifera (European varieties) and Vitis labrusca (American varieties). Some hybrids also perform well in our region.
European Varieties (Vitis vinifera)
These classic wine grapes prefer full sun and well-drained soil—perfect for Phoenix-area gardens:
- Beauty Seedless
- Black Monukka
- Cardinal
- Flame Seedless
- Golden Muscat
- Muscat Hamburg
- Perlette
- Pierce
- Ruby Seedless
- Thompson Seedless
American Varieties (Vitis labrusca)
Often more disease-resistant, these varieties can handle a bit more humidity if you're in a microclimate with shade or irrigation:
- Campbell’s Early
- Catawba
- Concord
- Himrod Seedless
- Niagara
- Reliance
- Seneca
American-European Hybrids
These combine the best of both worlds and can also produce excellent wine in Arizona:
- Baco Noir
- Chelois
- De Chaunac
- Verdelet
 What You’ll Need: Winemaking Equipment
Before you harvest your grapes, gather the following sanitized equipment:
- 4-gallon food-grade plastic bucket with lid
- At least three 1-gallon glass jugs
- Nylon mesh straining bags
- Large-mouth funnel
- Three fermentation airlocks
- Rubber bungs (fit your jugs)
- Clear ½-inch plastic tubing (6 feet)
- Five wine bottles per gallon of wine
- Size #9 sterile corks
- Hydrometer (to measure sugar levels)
- Hand corker (rentable at local wine or brewing shops)
 Ingredients for Homemade Wine
Aside from freshly harvested grapes, you’ll need a few specialty items (available at local wine supply shops or online):
- Granulated white sugar
- Filtered or distilled water
- Wine yeast (plus 1 tsp of yeast nutrient per gallon)
- 1/8 tsp pectic enzyme per gallon
- 1/16 tsp potassium bisulfite per gallon
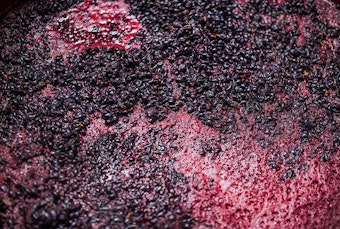
 Pressing Your Grapes
- Wash grapes thoroughly and remove any stems, moldy, or damaged fruit.
- Place cleaned grapes in a sanitized bucket.
- Crush grapes using clean hands, a press, or even sanitized feet—the goal is to release as much juice (or "must") as possible.
- Stir in yeast nutrients, pectic enzyme, and potassium bisulfite.
- Cover with a clean towel and let sit for 24 hours.
 Start the Fermentation
- After 24 hours, sprinkle wine yeast over the must.
- Insert the hydrometer. If the reading is under 1.010, dissolve and stir in more sugar to reach a fermentable level.
- Cover and let ferment for 7–10 days in a cool, shaded spot out of direct sun.
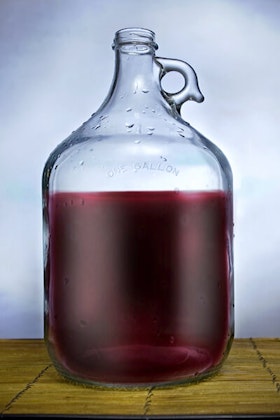
Straining and Secondary Fermentation
- After the first week, strain the must through a mesh bag or sieve, discarding skins and sediment.
- Transfer the strained wine to sanitized glass jugs, filling them nearly full.
- Cap with airlocks and allow to ferment in a dark, cool area (ideally around 60–70°F).
- Every few weeks, siphon wine off the sediment into clean jugs. Repeat for 2–3 months until clear.
 Bottling and Aging Your Wine
- When fermentation has stopped and wine is clear, siphon into clean bottles.
- Leave 2 inches of space at the top, then cork using your corker.
- Let bottles stand upright for 3 days, then store on their side in a cool (around 55°F), dark place.
Aging Recommendations:
- Red wines: Age at least 12 months.
- White wines: Age about 6 months.
Label your bottles with the vintage (harvest year) and varietal. Custom labels are easy to order online and make great gifts for friends and family.
 Enjoy the Fruits of Your Labor
Homemade wine from your Arizona garden is more than just a beverage—it’s a celebration of your hard work and the local climate that makes it all possible. With patience and care, you can create something truly unique and enjoyable.