 Back to the Be Inspired Blog
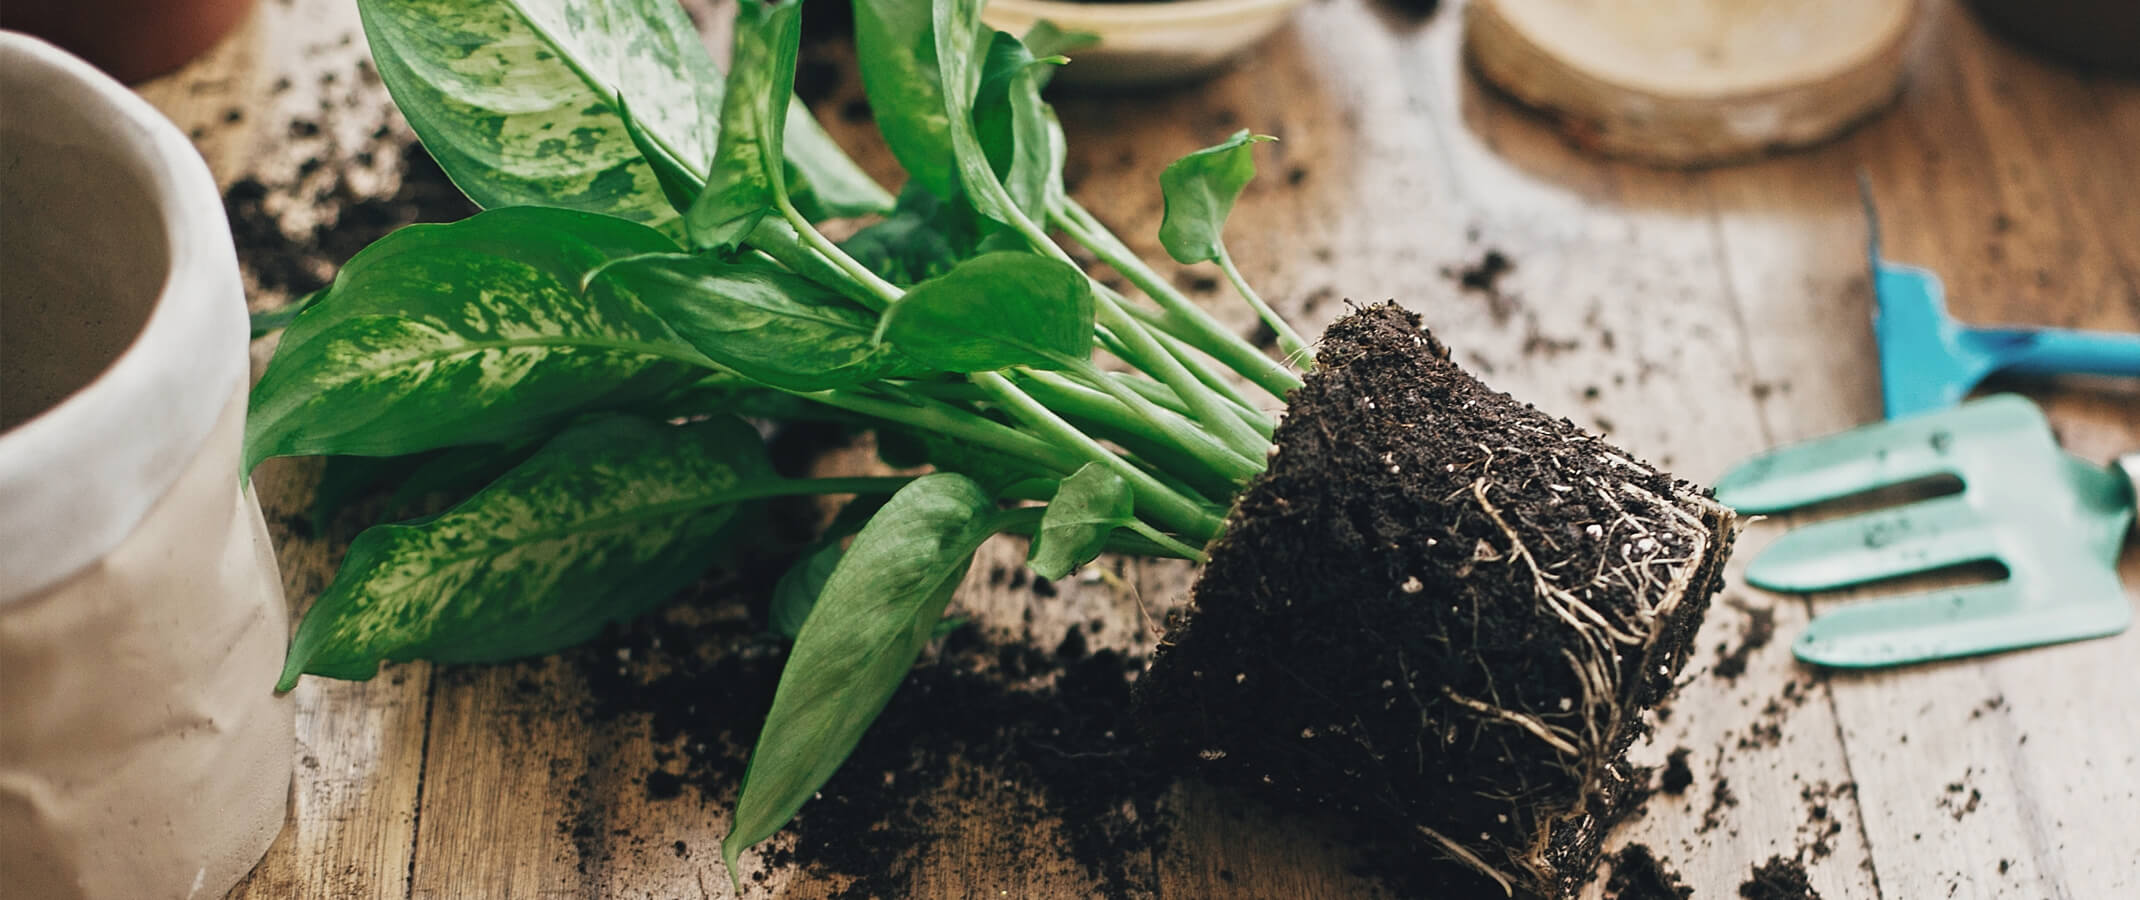
How to Re-Pot An Indoor Plant
Do you have a favorite indoor plant, but its roots are getting a little too big for its original home? No worries! You can transfer that plant from one pot to another larger container.
Here are some tips from Today’s Homeowner on how to successfully re-pot your indoor plant.
How to Re-Pot Your Houseplants
Step 1: Water Your Plant
Add a small amount of water to the original plant to have the roots and soil movable for transfer.
Step 2: Taking Out the Plant
Start by turning the pot on its side, grab the main stem in one hand and pull the pot away with the other. It’s important not to pull too hard on the stem; if necessary, use a knife or tool to separate the soil from the sides of the pot.
Step 3: Prune the Roots
Once your plant is removed from the original pot, start by examining the roots and soil. If you find the soil to be in good shape, keep it as is and to disturbance. However, if you find the soil to be moldy or rotten, get rid of the excess. The site also notes, “If the roots are tightly coiled, use your fingers or a sharp knife to loosen or gently slice them so they can spread out, trimming away any really long ends. Cut away any rotten or dead roots.
When repotting in the same pot, shake off the excess soil, then use scissors to prune back up to 25% of the roots. This will help rejuvenate your plant while keeping it small enough to stay in the same pot.” If pruning the roots, you may need to trim the plant back as well, depending on the plant. If the plant is susceptible to transplant shock, it would be wise to use a plant starter or Fox Farm Boomerang to relieve some of the stress.
Step 4: Clean the Pot
Make sure the new pot is clean and use hot, soapy water to do so. You are looking to get rid of disease-causing microorganisms and insect larvae; pat the new pot dry before adding soil.
Step 5: Add Soil
Check to see if the soil drains well. If it does not, put gravel at the bottom of the pot. Next, make a small mound of soil in the pot for your plant to sit on. Measure the height and make sure the top of the root ball is at least 1/2 inch below the rim of the pot, so that it won’t overflow when you water it.
Step 6: Position the Plant
When placing your plant, make sure it is centered and facing upright.
Step 7: Fill Pot
To fill the pot, add your soil around the plant in even layers and remember not to bury your plant deeper than it was in the original pot.
Step 8: Watering the Plant
Give your plant a nice soaking and do so until water runs out of the bottom. Soak thoroughly until there are no longer any air bubbles and the soil is well saturated.
Step 9: Settling
Check to see if there are any gaps in soil and add more if needed.
Step 10: Trim the Plant
This is the time to cut off any dead or broken parts on the plant. You can also lightly prune if you need; this encourages branching.
Successfully Transferring Your Indoor Plant
Transferring one indoor plant to another pot doesn’t have to be a disaster or even make that much of a mess. By following the above tips, you are on your way to a beautiful new home for your plant.
Do you still have questions on re-potting an indoor plant? Visit your local SummerWinds Nursery to talk to one of our garden experts today! Our garden coaches are also happy to meet with you to help you re-home your plant.