 Back to the Be Inspired Blog

DIY Moss Pole for Climbing Houseplants
Moss poles are not only a beautiful plant accessory, but they are also incredibly useful for climbing plants and tropical vines. Offering plants structure and nutrients to help them thrive and grow to impressive heights! While you can find moss poles and other plant supports for sale in-store, you may want to try your hand at a DIY version. Creating your moss pole will give you the freedom to create whatever size and shape you need for your plant collection. Here’s everything you need to know about these structures and how you can make your own at home.

Vining Plants + Moss Poles = A Match Made in Heaven
If you stumbled upon a vining plant in the wild, you’d almost certainly see it growing up along a vertical support like a tree trunk or other sturdy plant. Vining plants grip against the bark and wind themselves along branches and twigs. As the vine climbs, it pulls out nutrients from the tree and absorbs them to boost its growth. The vine and climbing structure work together as a team!
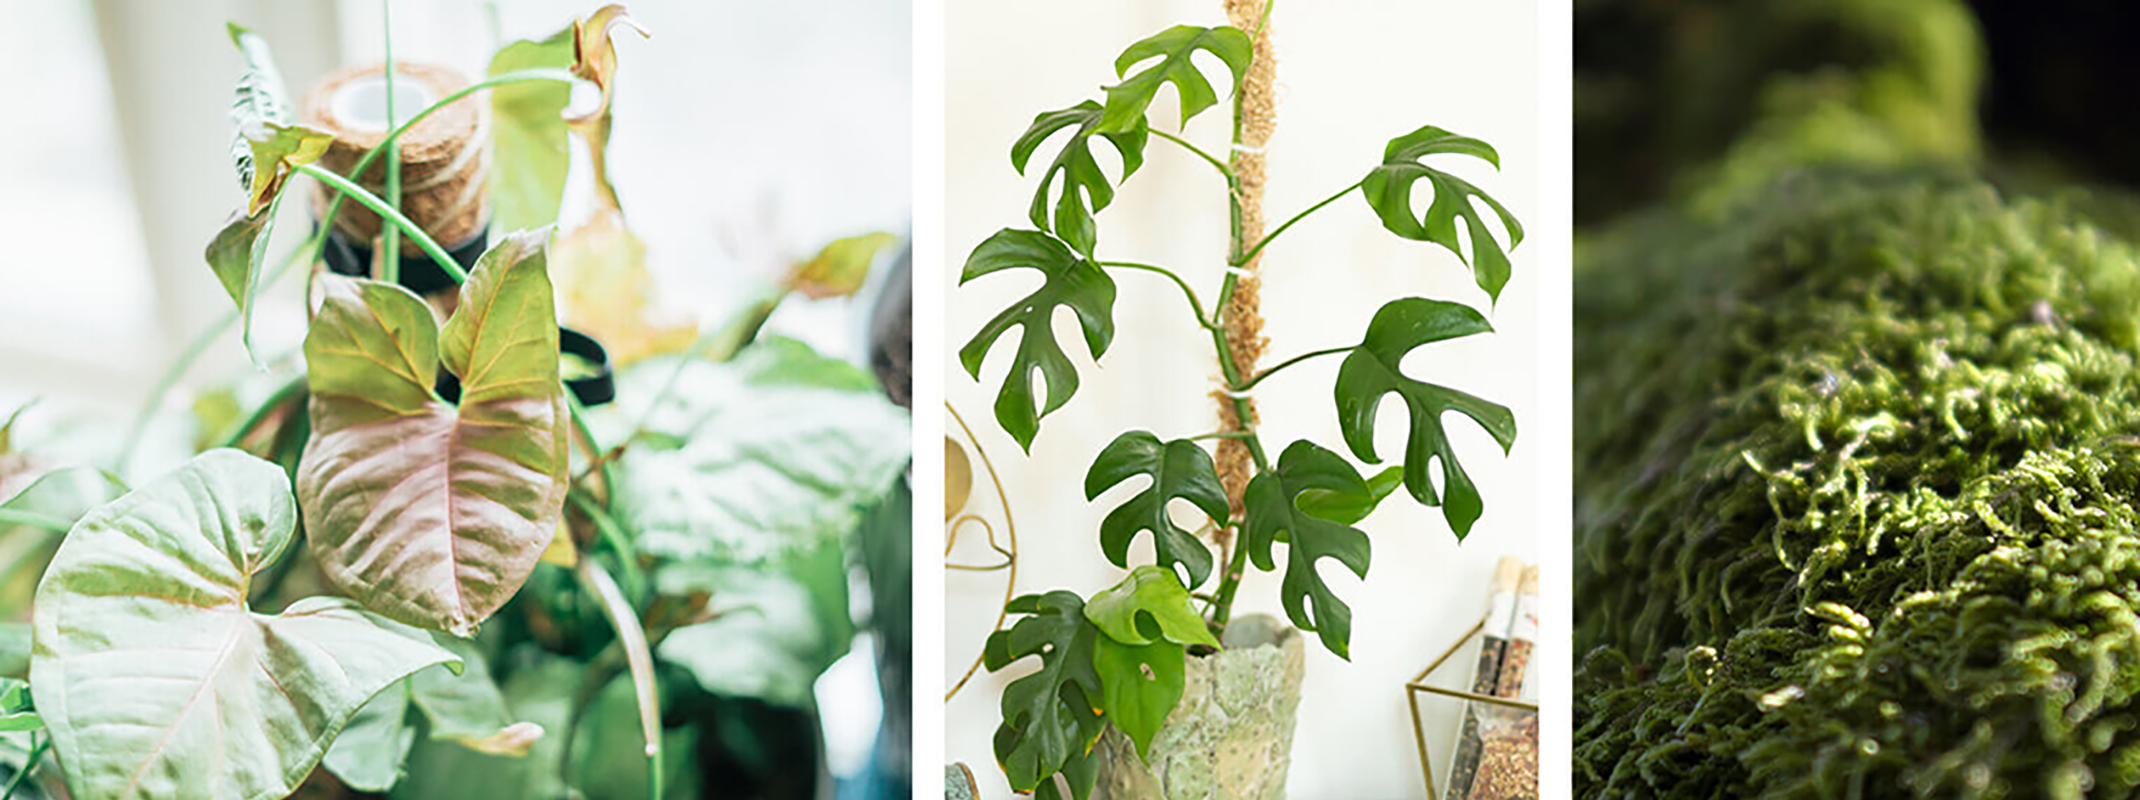
Creating your own moss pole will replicate the same conditions as in the wild. The moss will mimic the coarse texture of bark and other strong plants that varieties like monsteras and philodendrons love to climb in forests and jungles. Moist moss (say that three times fast) will break down over time and let your plants absorb the tasty nutrients they need, and it will provide the necessary humidity for our tropical plant friends.
If you don’t have time to DIY and you’re wondering where to buy moss poles for climbing houseplants in California,SummerWinds Nursery can help you reach new heights with our moss pole collection.

DIY Moss Pole Supplies
If you’re opting to go the DIY route, there are a few items you’ll need to buy before you get started.
- Sphagnum or Bella moss
- A pole, PVC pipe, or a wooden dowel (aim for it to be 1-2 feet taller than the plant that will be climbing it)
- A tray or large bowl of water
- Twine or string
- Gloves to protect your hands
Before you get started, you’ll want to choose a location where you can get messy. Wet moss can be tricky to work with, so be aware you might need to be on clean-up duty afterwards. While choosing your stake/pole, remember that several inches of it will be in the pot itself, so you’ll need to account for the height of your pot when choosing what type of pole you are using.

How do you Make a Homemade Moss Pole?
Step 1: Soak your moss in the tray or bowl of water for 20-30 minutes until it’s nicely saturated. This will help it stick to the pole and help distribute nutrients to your plant.
Step 2: Take the stake/pole of your choice and mark it with a marker where you will stop adding moss, about seven inches from the base.
Step 3: Wring out pieces of your moss as you need it. It should be moist but not soaking wet. Then, spread the clumps of moss out a bit, so it’s more like a flat sheet.
Step 4: Starting from the top of the pole, wrap the flat sheets of moss around the pole, then wrap the string or twine around the moss and the pole. Make sure each piece is secure.
Step 5: Repeat the process until you have covered, wrapped, and secured the moss to the pole up until your mark.
Step 6: Make sure to knot the string tightly, and if you feel that your new structure looks a bit messy, you can trim off any stray moss.

That’s a Wrap on your Moss Pole!
Once you’ve finished creating your moss pole, you can insert it into your plant’s pot, careful to avoid the roots. You may find it easier to add it while repotting your plant. To help your plant get acquainted with its new friend, you may want to temporarily loosely tie the plant to the moss pole with some twine or string. As the plant grows and grips onto the pole for more support, you can eventually untie those extra supports.
Whether you buy or DIY, adding a moss pole will help your plant feel more at home sweet home. If you are looking for more ways to support your houseplants, come visit us.

