 Back to the Be Inspired Blog

A Quick Guide to Preparing Your Garden for Spring
Preparing your garden ahead of time for spring planting helps to prevent problems later in the season. Any seasoned gardener will agree that there are common nuisances—namely, weeds and pests—that can derail your gardening projects if you don’t deal with them ASAP. But with a little prep work, the likelihood you’ll encounter pest and weed problems is much lower!
On top of preventative measures, preparing your garden for spring requires some evaluating and taking inventory of your surroundings. What’s missing, or looking a little shabby after the winter? How is the soil quality? Setting your garden up for success means providing your plants with everything they need to thrive as soon as they make it into the ground.
How Do I Prepare My Garden for Spring?
To get your garden all set for a successful season, follow these six steps to preparing flower beds and vegetable gardens for spring.

Do a Quick Spring Cleanup
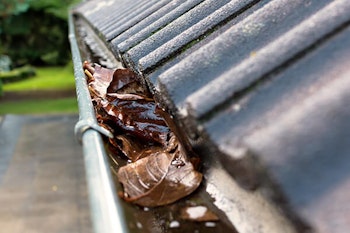
First thing’s first, clear away all the leftover junk from last year—leaves, sticks, dead plant material, and any other debris that found its way into the yard over the winter. If it piles up, it can attract all sorts of unwanted pests, from insects to rodents, and even bacterial fungi, that seek out the shelter it provides.
Old leaves and other plant materials can usually go in the compost, but be sure to dispose of any diseased plant material in the trash. Diseased plants can contaminate your compost, which can then spread to all the plants it comes into contact with, so it’s a major no-no!

Do a Soil Test and Amend as Needed
Spring soil preparation is crucial, especially when you plan to plant vegetables or nutrient-hungry annuals that have a short, rapid growing season. Properly preparing vegetable garden soil for spring will provide your plants with enough energy to grow the biggest, brightest veggies packed with the most nutrients possible!
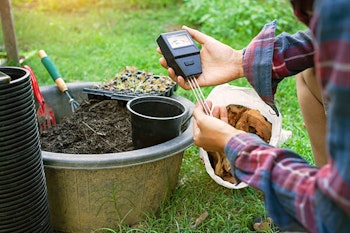
Soil test kits are easy to use, and they give you an idea of the basic nutrient composition of your soil, as well as the pH. If any minerals are deficient, such as nitrogen or phosphorus, the test results will alert you, so you can use an enriched fertilizer to replenish the nutrients. Even if there aren’t any minerals lacking in the soil, it’s not a bad idea to add in some slow-release fertilizer anyway to ensure the soil doesn’t become depleted over time.
Ideally, you’ll want a soil pH that’s as close to neutral as possible, but certain plants have a preference toward slightly more acidic or more alkaline soil. If the test indicates the soil is substantially more alkaline or acidic, then you can mix in special soil amendments to fix the problem. Lime (the gardener’s kind, not the fruit) helps to reduce acidity and make soil more alkaline. To reduce alkalinity and boost acidity, you can mix in some fresh compost, which works slowly over time and helps to feed your plants.
Apply Pre-Emergent Herbicide
Weeds are the bane of any gardener’s existence, and the formulas to combat them can be a bit harsh on your soil! It’s much easier to keep weeds at bay if you take preventative measures, and there are many environmentally friendly natural pre-emergent herbicides.
Pre-emergent herbicides work to stop weeds from germinating in the first place, so they don’t get the chance to take root and grow rapidly. It’s important to apply it right before things start sprouting in spring because if you apply it too late, it won’t be of much help!

Replenish Mulch
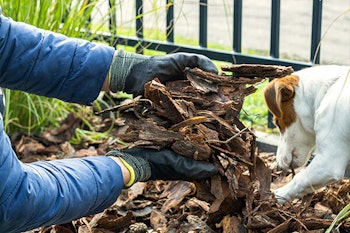
It’s amazing how helpful mulch is in reducing the amount of time spent working on landscape upkeep. It blocks weeds from the sun to prevent germination, it helps regulate soil temperature, conserves moisture, and delivers nutrients into the soil as it breaks down!
But, since it breaks down slowly, it eventually gets to a point where it’s a little unsightly, so it’s important to top up with a fresh batch at the start of the year.
Usually, the wind will blow a lot of it away over the course of a year, but if there’s a lot of decomposed mulch left behind, you can use a rake to clear out the excess.
Check for Pests
Lots of pests like to hide in the undersides of your plants’ leaves, or there may be larvae hanging around the soil at the root level. Get right down on the ground and take a close look at your plants, using a magnifying glass if necessary. Some pests are really small and hard to catch until they’ve already done their damage, but if you manage to spot them early, you can get rid of them before they feast on your plants.
Use a safe, pollinator-friendly pesticide, so you don’t end up harming any bees, butterflies, or other beneficial wildlife. Insecticidal soap, neem oil, and diatomaceous earth are some of our favorite all-natural pest control products that effectively kill many of the most notorious plant pests.

Create Your Garden Design
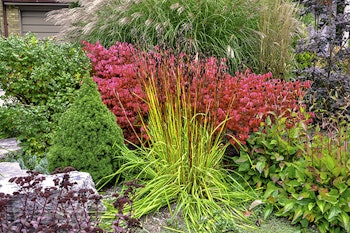
Once you’ve done all the dirty work, you can get to the creative stuff! Creating a planned layout for your landscape design ahead of time can help you choose the right amount of plants, space them out properly, and achieve the most attractive results. Pay attention to each plant's spacing requirements and plan for when they’re going to be in bloom. It’s nice to have a mix of fall, summer, and spring-blooming plants throughout the yard, so you can have consistent colors to enjoy until the end of the year.
With spring right around the corner, now is the time to get ready for a busy growing season! Visit SummerWinds for the best selection of garden supplies in California, plus tons of exciting new annuals and perennials ready to plant for 2022

